How to organize restaurant and recipe screenshots on your phone
· Editorial team orlandonewsdaily7.com
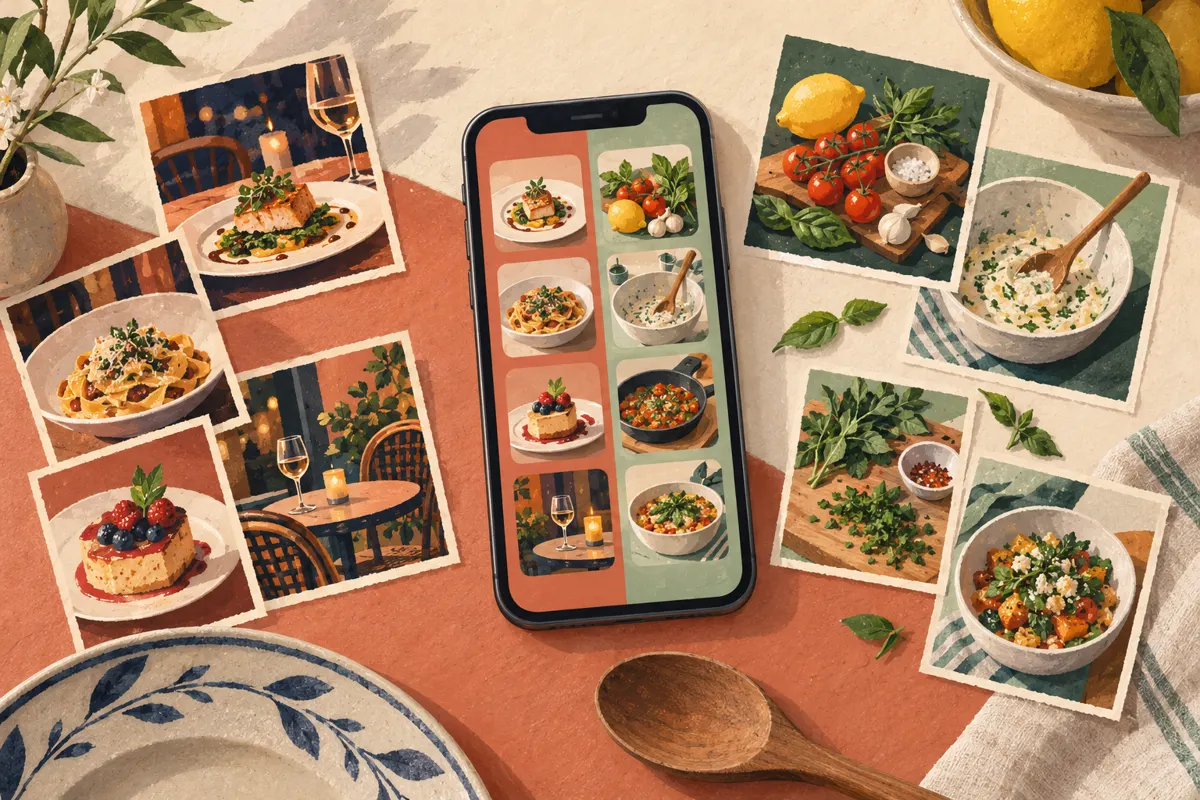
Create two photo albums: Places to visit and Dishes to cook. Then put the screenshots you want to use into notes with clear titles, a few searchable keywords, and the original links when available. Use albums for browsing pictures and notes for finding details. The workflow below is an editorial proposal you can adapt to your phone’s built-in photo and notes apps.
Start with two food albums
Separate eating out from cooking at home before adding more categories. A restaurant menu and a pasta recipe may look similar in your camera roll, but they answer different questions: where to go and what to make.
- Open your photo app and create albums called Places to visit and Dishes to cook. The controls and wording depend on your app.
- Find your food screenshots, using a screenshots view if your app provides one.
- Add restaurant recommendations, menus, and location details to Places to visit.
- Add ingredients, cooking instructions, and recipe ideas to Dishes to cook.
- Leave undecided images for a later pass instead of creating an album for every possible category.
Begin with recent screenshots or the dishes and places you still remember wanting to try. You can organize older images gradually without making the entire camera roll your first task.
Give restaurant saves enough context
A close-up of a sandwich may not tell you where to order it. For restaurant ideas worth keeping, create a note and attach the relevant screenshots if your notes app supports images. Otherwise, record the details in text and keep the pictures in the restaurant album.
- Title: restaurant name — neighborhood or area.
- Try: the dish or drink that caught your attention.
- Good for: your own intended occasion, such as lunch, takeout, or dinner with friends.
- Source: the original website, menu, map listing, or social post link.
- Status: want to visit, visited, or revisit.
Write unknown when the restaurant name or location is missing. Before making plans, return to the original source to check details such as hours and menu availability. A saved screenshot records what you saw when you captured it.
Keep each recipe together
Create one note per recipe you expect to cook. Put its screenshots in reading order: ingredients first, then preparation and cooking instructions. Keep enough overlap between screenshots to spot missing lines, but remove redundant images once you have checked that the recipe is complete.
- Title: dish name — main ingredient.
- Keywords: a few terms you would naturally search, such as chickpeas, soup, or baking.
- Source: author or website name and the recipe link, when available.
- Recipe: readable screenshots containing quantities and every instruction.
- Status and notes: to cook, cooked, or make again, followed by any changes you actually tried.
If you saved only a finished-dish photo, label it inspiration or find the full recipe before planning your shopping. Check servings, quantities, temperatures, and timings against the original whenever a screenshot is cropped or unclear.
Make searches predictable
Type the important words into the note instead of relying on your phone to recognize text inside an image. Use names you will remember: lemon chicken, mushroom pasta, or downtown lunch. A descriptive title gives you something specific to search later.
Keep your vocabulary consistent. If you choose to mark recipes vegetarian, use that same word each time. For restaurants, use a consistent area name. Add only categories that help you choose; elaborate labels create more filing work.
Try searching for one saved restaurant and one recipe using your chosen keywords. If either is difficult to find, improve its title or add the missing word. Keep your next few choices in a short note called Food to try next.
Clear the backlog a little at a time
Use this proposed weekly routine to keep new screenshots from becoming another backlog. Pick a convenient moment, such as before planning meals or choosing somewhere to eat.
- Sort new food screenshots into the two albums.
- Create notes for the ideas you still want to use.
- Delete duplicates and saves that no longer interest you.
- After cooking or visiting, update the note with your own experience.
- Before deleting an original image, reopen any saved copy and confirm that it contains everything you need. Adding an image to an album may not create a separate copy.